How to grout tiles yourself: Easy DIY for beginners

Add a very handy skill to your DIY repairs repertoire.

How to grout tiles yourself: Easy DIY for beginners

Whether you are starting from scratch with a new home reno or simply adding a feature splashback to your kitchen, sealing your tiles with grout is a vital element of your build. Learning how to grout tiles yourself not only saves you money, but it gives you a handy skill that you’ll call on for upkeep, ensuring your tiles stay as good as new, for as long as possible. 

Grout protects your tiles from dirt and moisture and is actually quite quick and easy to apply. In fact, many people are surprised at how simple and quick this important job can be! You don’t always need the professionals or to say goodbye to your bathroom for a week to achieve a stunning refreshed look.


If you need to learn how to tile first before you grout, check out our highly detailed DIY tiling guide!


To help, we’ve detailed a simple step-by-step guide that can be used for both how to grout tiles, and how to regrout as well. A professional finish is easy to achieve!

Everything you need to grout tiles

  • Tub of grout
  • Adhesive
  • Squeegee or spreader
  • Sponge 
  • Bucket
  • Cloth

You’ll be able to find a range of different grout types at your local hardware store, so ensuring the project sticks to your budget should be very achievable. It will also be important to grab some grout sealer while you are there for the aftercare of your new grout.

Understanding the different grout options

To help prepare you for that trip to the hardware store, it is essential to have a base-level understanding of the four main types of grout:

  • Cement-based: The most popular option for DIY tile projects, not the most robust grout option but easy to work with
  • Epoxy: A little bit more expensive but very effective for tiles that require need a lot of water resistance, for example, the bathroom 
  • Caulking: Usually available in a tube or caulking gun, and best for tough-to-reach corners
  • Latex-modified sanded cement: Similar to the cement option but with higher levels of water resistance and bonding characteristics 

If you are unsure of what will be best for your project, chat to the staff and let them know exactly what you’ll be doing, they will be able to point you in the right direction!

How to grout tiles – Step-by-step

Step 1: Preparation

If you are working with powdered grout, pour some water into a bucket, then add the grout. Stir and continue to add more crowd until you reach a consistency of whipped up ice cream.

Step 2: Application

Use a squeegee or grout spreader to pick up some grout then force it into the gaps that are between your tiles. You may find it significantly easier to work diagonally at a 45-degree angle when applying the grout, only doing small areas at a time, so your grout doesn’t dry before it is in the right position.
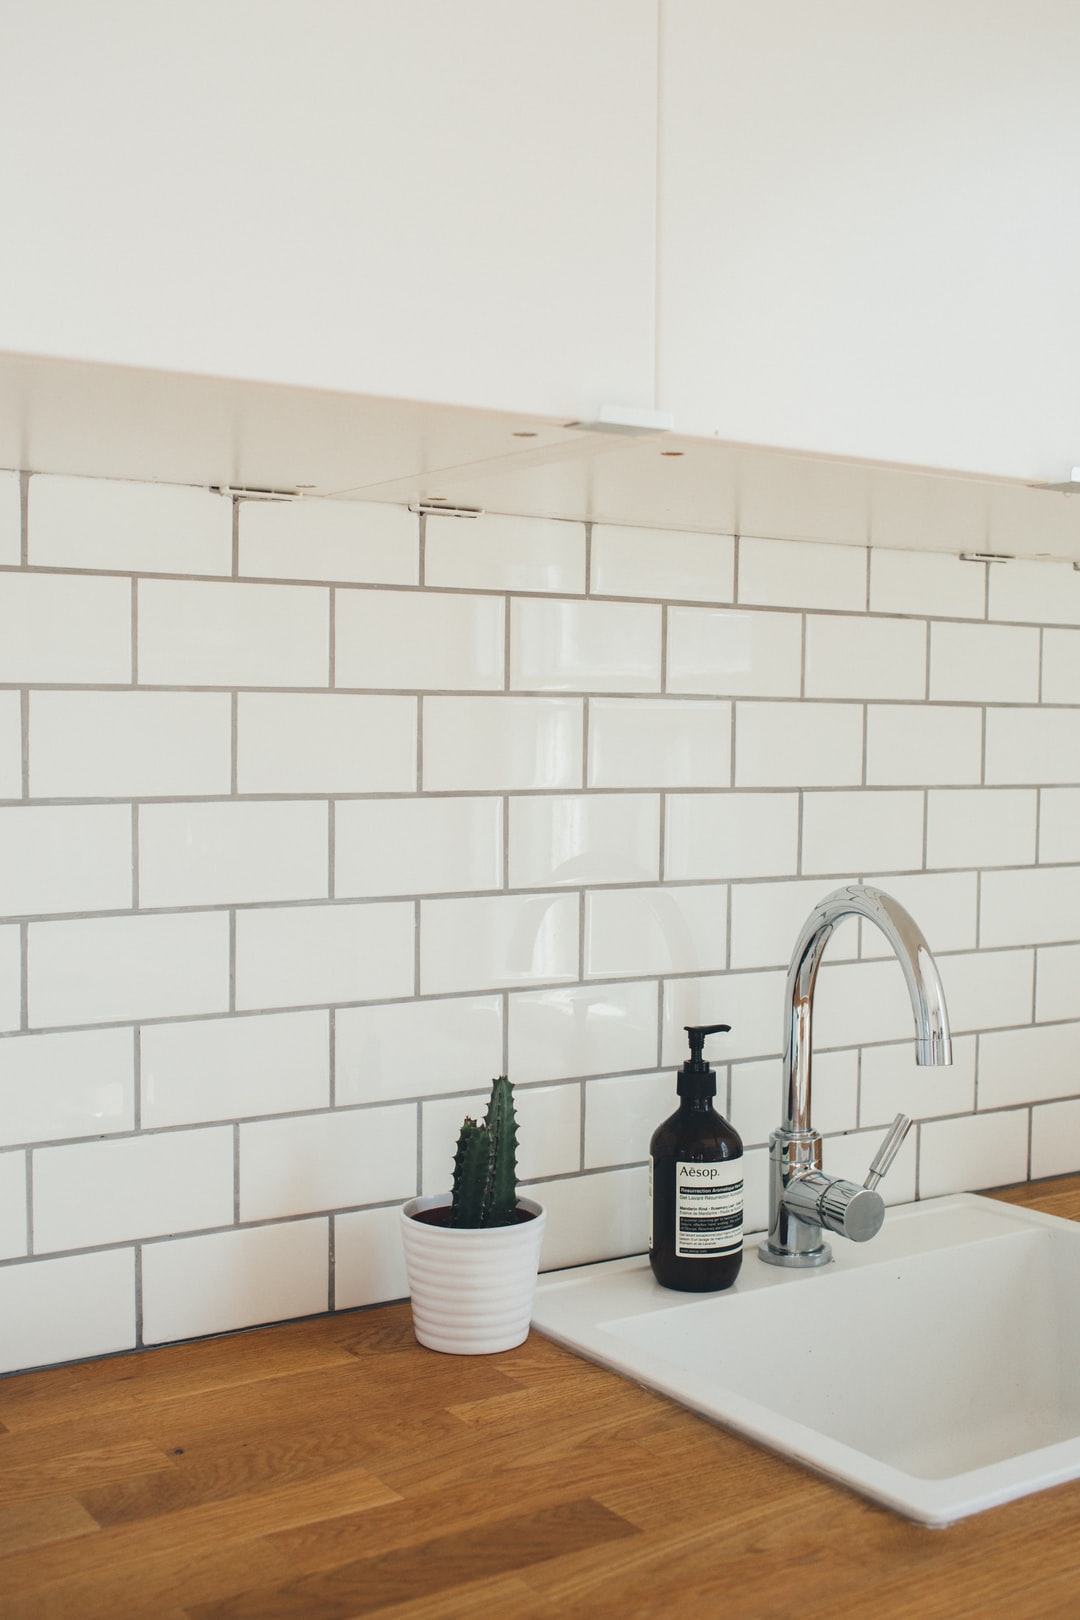
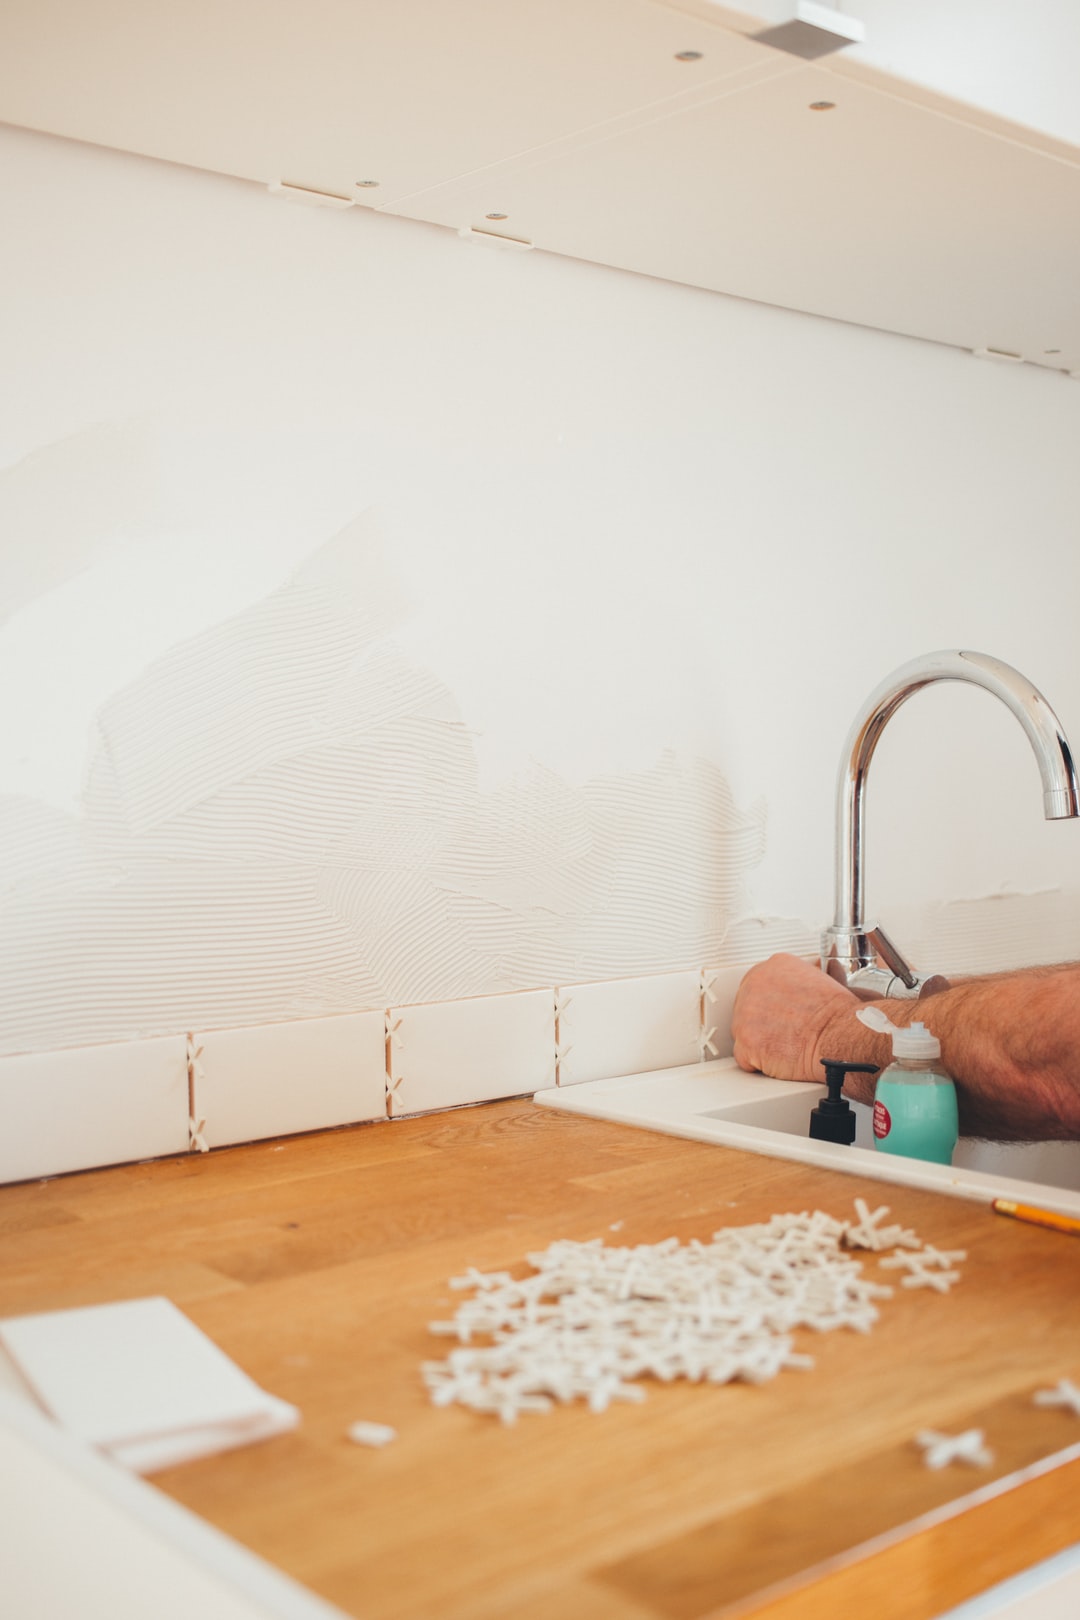
Grout with white tiles
Source: Charles Deluvio

Step 3: Curing

While the grout is still workable, cure and tool it into the joints, wiping off any excess with a damp sponge. Give it about 10 minutes then go over with again with a wet sponge.

Step 4: Sealing

The final step is making sure the joints are waterproof. This is done with a grout sealer that is often applied twice. Just make sure that your tile is dry before applying to ensure the best result. From here you just et the tile sit to dry, then polish it with a cloth.

How to regrout tiles – Step-by-step

Nothing looks better than new white grout, and nothing looks worse than grout that has become mouldy or dirty. If your grout needs a refresh, or you want to get a little experimental by changing its colour, regrouting is the way to go and easier than you think! 

This weekend job will seriously boost the look of your space, and all you need is a grout rake and an off-the-shelf product.

Step 1: Prepping the area

Cover the floor with an old sheet to save clean up time and pop the plug into the bath or sink to avoid grout falling in there and causing a blockage. It’s also a good idea to open windows to ventilate the room and clear out the dust. A safety mask and goggles are a good idea as well.

Step 2: Remove the old grout

Use your grout rake, or an electric grout remover to clear out all of the old grout. Start in the middle of the tile and draw a line with your grout rake with a slow, steady movement. Start with vertical lines, then go horizontal. Give the area a wipe down when you are finished to get rid of any excess dust.

Step 3: Applying the new grout

Mix up about 20 minutes worth of grout to ensure you don’t have an excess amount that will dry before you get to it. Chuck some on your grout spreader and work it into the lines. Run over the tiles with the edge to clear away any excess.

Step 4: Drying

Use a damp tile sponge and clean away any excess grout, then leave it to harden for about half an hour. You can use a grout finisher to tidy any indented lines by running the rounded end along the line with a soft amount of pressure. 

From here, leave it all to dry for a few hours, then take a clean cloth and polish the powdery residue.
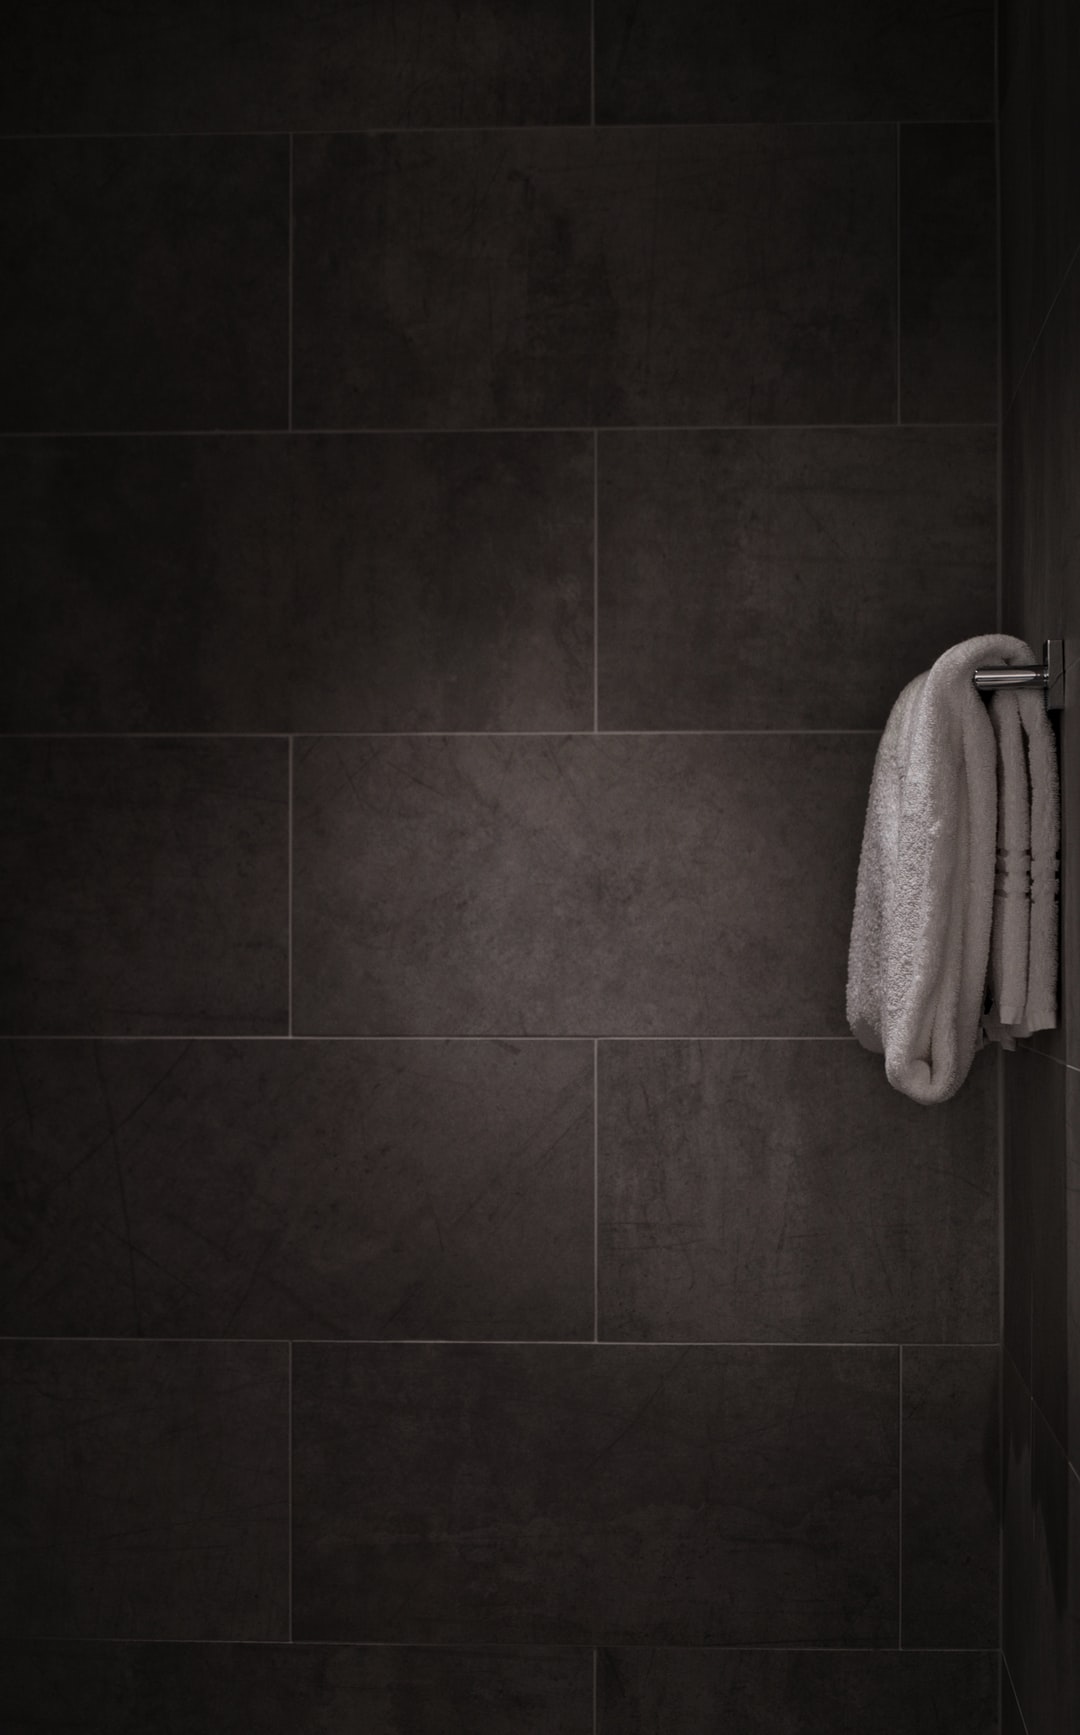
Shower with grout
Source: DAVIDCOHEN

How to grout shower tiles

When it comes to handling the grout on your wall tiles, the steps are mostly the same, save some slight differences. The mixing and creation of your grout, with the powder and some water, is the same, but you’ll want to protect your floor from splatters. Lay a drop sheet secured with masking and remove any spaces that may be in-between the tiles.

Spread a generous amount of your grout mix onto the tiles then use your grout tool to work diagonally across the tiles. This helps the mixture get right into the gaps. To really secure your grout, run the flat edge of the tool across the tiles which also helps to remove the excess. Repeat this process until the mixture in the joint begins to set.

Once this is all done, take a damp sponge and wipe diagonally across the tiles leaving a clean joint that is full of grout. Leave the grout to dry completely then buff the tiles with a soft cloth, and your wall tiles will look as good as new! 

Frequently asked questions

How long do you leave grout before wiping?

When you first finish applying your grout, leave it to harden for about half an hour. At this point, you can tidy any indented lines with the rounded end of your grout tool with a soft amount of pressure. 

After you have done that, leave your project to dry for a few hours, before cleaning and polishing. When all this is done, sit back and enjoy your fresh new look!

Can you put new grout over old grout?

This is not recommended as it will be harder to achieve a neat and professional-looking result. Take a bit of extra time and use a grout rake to clear out all of the old grout. 

The best way to do this is by starting in the middle of the tile and drawing a line with the grout rake in a slow and steady movement. Once you have cleared away all of the old grout and excess dust, you are ready to apply the new grout.

Do you need to seal grout?

Yes, it is very important that you seal your grout to ensure it stays water-resistant and offers you a decent amount of longevity. To do this, purchase a grout sealer from your local hardware store and apply it twice or per the instructions on the packaging.

Ensure that your tile is dry before applying the grout sealer to get the best result. This final step is crucial in protecting all of your hard work, so don’t skip it!

Enjoy your easy DIY new bathroom look!

Just like that, you have refreshed the look of your bathroom or kitchen without an exorbitant cost or too much hard work. Fresh grout will make your space look brand new, while also protecting it from moisture and dirt, saving you from a hefty renovation sooner than necessary. 

If you want all of this but the DIY path is not for you, just check out the many Taskers that can handle your regroutingbathroom tiling or tile grout cleaning. You can also get a little help to refresh your splashback, making it into a feature piece or revamp your floor tiling or any tiling in general.

If you have caught the DIY bug, mastered your grouting and are wondering what the next DIY project you can take on around your home is, check out our blogs about kitchen flooringsplashback ideasbathroom tiling ideas and even some great design tips for your front porch! There is no end to the improvements you can do, and it’s time well spent, boosting the look of your home and its value! Get to work!

Renovation Checklist: Everything you Need to Know

Before you pick up the tools - double check you've got these things sorted.

Renovation Checklist: Everything you Need to Know

Deciding to renovate is a massive decision because there’s so much to consider like planning, finding trades and costs. We all have lots screenshots of beautiful homes and a dream-like Pinterest board that we love, but let’s be honest, most of us will also be working with within budget. So with all this in mind, it’s important to create a renovation checklist to avoid becoming overwhelmed or going over budget.

So let’s get started and go through what should be on your renovation checklist.

Planning and researching your renovations

Narrow it down
When you’re looking to renovate your home, you need to think about whether you’re going to be truly ok with all the noise, dust and not to mention being without a kitchen or bathroom for a while. You can either narrow it down to smaller areas so that you can move to different rooms as the renovation progresses, or if it’s a knock down you’ll have no choice to move in with family or into an Airbnb (which let’s face it, you don’t want to do that longer than you absolutely have to).

If you’re budget renovating, the best way is to try to do as much of it yourself and conquer smaller areas so that you don’t have to move out and can save costs.

Collect ideas
Gather all the ideas you love and order by room via a Pinterest board, on your phone or even a magazine clippings folder. This will help you think about what you want to do and also develop a consistent theme that will flow throughout your home.

In your room-by-room considerations, collate a list of the specific issues (e.g. dampness), recommendations and options you have considered.

Once you have all of your inspo, pick up sample paint colours that you can try on the walls, carpet clippings and timbers to see how it works with the paint colours, and also look at the different permanent fixtures you want such as lights in person. You might decide to go with a different look as you’re inspired by other ideas in store.

Renovation Checklist
Source: Unsplash.com

Finalise renovation budget and priorities
Calculate what your maximum spend is but also put an additional budget together for any extras that you initially forgot – you might think you’re fine but all renovations tend to go over budget. Next, prioritise the areas most important to you (or that need the most attention) and that you use the most (such as the bathrooms and kitchen). If you can afford to renovate those rooms, they should be the first you look at.

Decide who will complete your renovations
Finding a tradie who can do a great job and isn’t going to hurt your wallet is tough but personal recommendations from family or friends are your best starting point.

Arrange to meet with a few different builders to run them through your plans, so that afterwards they can give you a quote and also possible start dates as many of them are booked out months in advance.

Renovation Checklist 2
Source: Unsplash.com

Material quotes
Get quotes for your all of your materials to know what the end cost will be. Don’t forget to shop around and also haggle to get a better price. Your tradesman might also be able to help with discounts or industry connections.

The renovation begins!

Read the fine print
Make sure you carefully review the paperwork (i.e. contracts) supplied by your builder and other tradesmen. Iron out any ambiguities before you sign the dotted line.

Before you get too far into the renovation process, don’t forget to also avoid these top renovation mistakes.

Get the home ready
If you’re living at home during the renovations, you may need to re-jig your living arrangements during this time. Think about the best way to manage this. If you are having your bathrooms renovated, you may need to hire a portable shower and toilet unless you have some lovely neighbours!

If you’re moving out during the renovation, think about your options – including living with family or friends, or short-term (hopefully) leasing.

Renovation complete

First, Sigh with relief! Second, go through your house and contract thoroughly to make sure that everything has been delivered as initially agreed.

If anything is missing, simply make a list and go through it with the person you contracted. It’s always better to be safe than sorry, so make sure you keep all your documents, agreements and contracts in a safe place just in case anything happens down the track.

Don’t forget to celebrate your renovations and enjoy your amazing new space.

Budget renovating – a ‘how to’ guide

Want a new kitchen, bathroom or an entirely new home but looking to save money where you can? This is how...

Budget renovating – a ‘how to’ guide

Want a new kitchen, bathroom or an entirely new home but looking to save money where you can? Budget renovating can be tough, but not impossible! Whether you’re about to embark on a budget home or apartment renovation, you want to ensure maximum impact for minimum spend.

Renovations start to get expensive when structural changes need to be made such as knocking down walls and mixing up the floor plan. Yet even cosmetic renovations can become pricey if you’re not thinking about budgets in the planning phase.

To help you get started here are a number of handy tips and tricks to help you pull off your DIY and renovation ideas.

renovating, budget renovating, DIY renovation, apartment renovation, house renovation
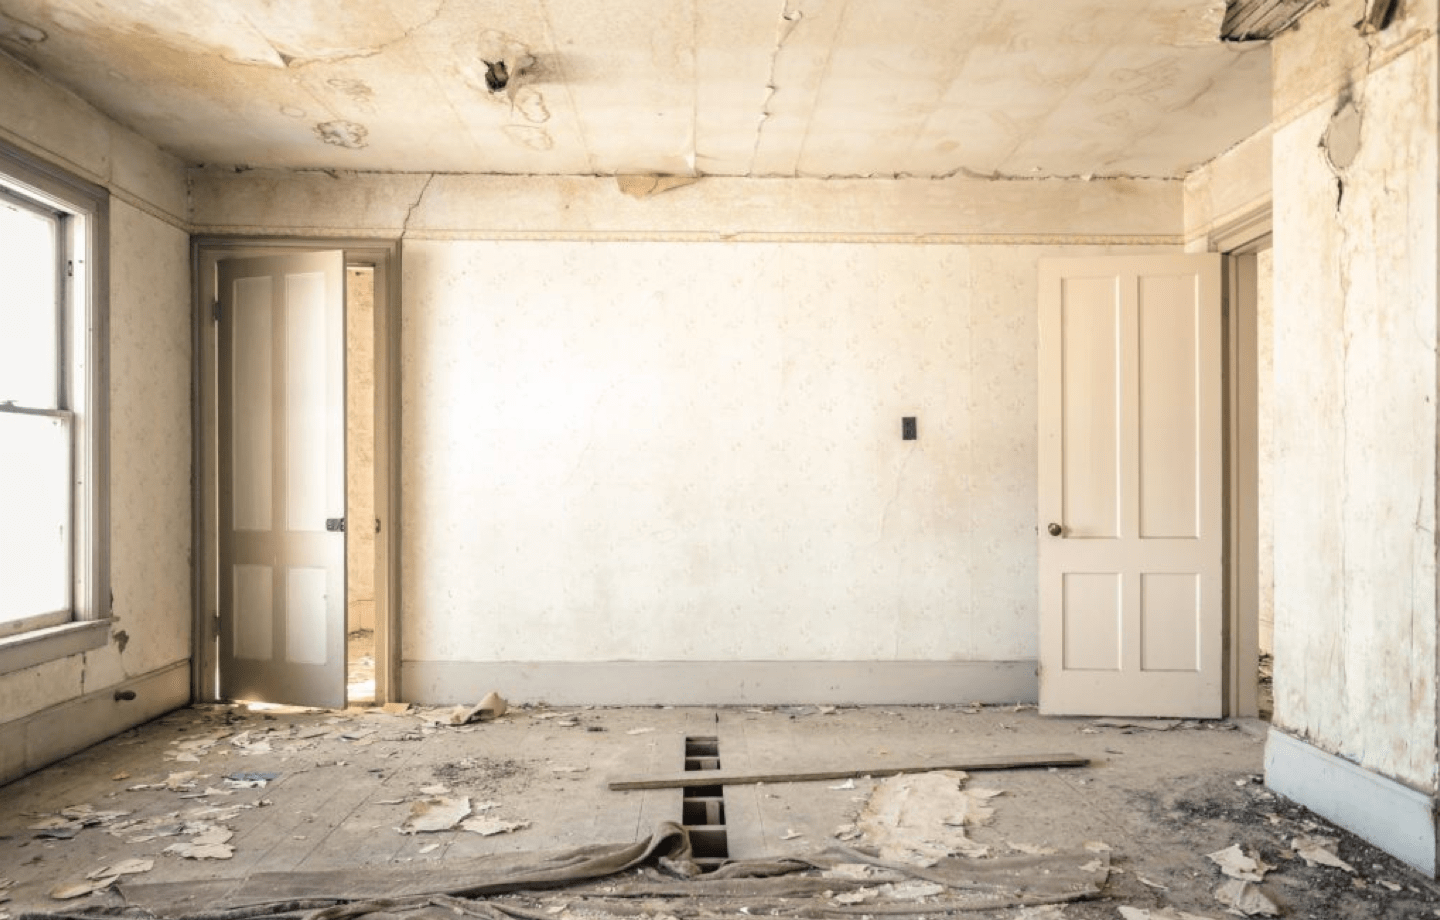
Source: Unsplash

DIY renovation

When looking at DIY renovations it’s important to consider three things; budget, timings and skills required. We’ve all seen House Rules or The Block and thought, sure – we can do that too. Some people find things like knocking down a wall or the art of painting very cathartic or even fun. However, it’s a lot harder than it looks and there’s a huge crew behind the cameras that help out. So, it’s often worth hiring professional tradespeople if you’re taking on larger projects and worried that something might go wrong.

pexels-photo-65043
Source: Pexels

Renovations can also be a stressful time. The more you decide to do yourself, the more pressure you’re under. However, when approached realistically, DIY renovation is an excellent way to stretch your budget further. So it’s important, to be honest with yourself and decide what you can and can’t do when you’re initially planning the renovation.

Whilst you might be able to get all the painting done yourself, there are some things you can’t skimp on and shouldn’t tamper with – particularly plumbing and electrical. You can hire skilled tradespeople via Airtasker for your plumbing, electrical and handyman odd jobs.

Have a friend who’s a tradie? Make sure you have a chat to them and walk them through your ideas and get their opinion about if you should look at hiring a professsional or have a go yourself. They might be able to give you a few cost saving renovation tips too!

Budget kitchen renovation tips

It all starts with the planning and looking about what already exists. Think about what can be salvaged, keeping the same layout and budget friendly items.

You might want to get rid of everything in the kitchen, but, there could be some great bones under vinyl flooring or simply keeping existing cabinets and only changing the doors or repainting the existing ones.

art-wall-brush-painting
Source: Pexels

Keeping the same layout is likely to save on those expensive plumbing and electrical labour costs. Think about it, if you change the where the sink is or put your new kitchen in a totally different spot, all the plumbing would have to be re-done. Is it all really worth it?

There are so many great budget kitchen substitutes via IKEA and Bunnings, that would cost you a lot less than a bespoke cabinet maker. You (and some lovely friends) could even put a lot of it together yourself.

Budget bathroom renovation tips

Bathrooms are the most expensive room per square metre to renovate. So similarly to your kitchen it’s important to think about what may be salvageable, the layout and only updating the cheaper pieces in your bathroom.

There might be more than you realise that is salvageable in your bathroom, such as tiles, which you can always modernise with tile paint. Again, if you change the layout of where your shower, basin or toilet is, it will require a plumber and/or electrician.

As the bathroom is so expensive to update, consider small improvements such as replacing the vanity, mirrors, and tapware – these small things can make the world of difference.

Outdoor budget renovating tips

Landscaping can be quite expensive if you need retaining walls or tree removal, however, a neat entrance and backyard that is tidy and green, is what counts on making a great impression.

Street appeal is crucial when selling your home, so look at adding a new fence or giving your current one a lift with fresh paint, and adding some new plants or a hedge. Without spending a fortune, a nice lick of fresh paint on a weatherboard home or rendered bricks can make a huge difference.

It’s all in the details

pexels-photo-199691
Source: Pexels

Just like fashion, interior design goes through cycles about what’s cool and what’s not. So before you jump into a total renovation, take a step back look at what’s there and currently dating your home.

It could be as simple as updating old tapware, light fittings, skirting boards, blinds and light switches.